Just got back from an amazing Jug Summercamp at La Rochelle. I was ready for the presentation of the Live Pair Programming with Eclipse Cloud Development and … AGAIN! I faced display issues with the external VGA projector not being detected on my computer, the same issue I encountered a few months ago at Eclipse Con France. Here’s how I managed to resolve it.
Problem Description
When I plugged the VGA cable into my display port, the projector displayed “SEARCHING …”. No screen was detected on my laptop’s configuration screen. Interestingly, the setup worked fine in another room, which made me suspect an issue with the extension of the VGA cable.
Laptop Specifications
Operating System:
- Linux Ubuntu Trusty
Laptop:
- Dell System XPS L322X
Display Device:
- 00:02.0 VGA compatible controller: Intel Corporation 3rd Gen Core processor Graphics Controller (rev 09)
The laptop is connected to the external screen projector using a VGA cable and a mini-display-port to VGA adaptor.
Fix
The following steps outline the fix. Note that eDP1 refers to the main laptop screen and DP1 refers to the external screen. Use the xrandr command to get the status of your display:
Screen 0: minimum 320 x 200, current 1920 x 1080, maximum 32767 x 32767
eDP1 connected primary 1920x1080+0+0 (normal left inverted right x axis y axis) 294mm x 165mm
   1920x1080      60.0*+   59.9     40.0
   1680x1050      60.0     59.9
   1600x1024      60.2
   1400x1050      60.0
   1280x1024      60.0
   1440x900       59.9
   1280x960       60.0
   1360x768       59.8     60.0
   1152x864       60.0
   1024x768       60.0
   800x600        60.3     56.2
   640x480        59.9
VGA1 disconnected (normal left inverted right x axis y axis)
HDMI1 disconnected (normal left inverted right x axis y axis)
DP1 disconnected (normal left inverted right x axis y axis)
VIRTUAL1 disconnected (normal left inverted right x axis y axis)
Choose a resolution that works with the external monitor and ensure your VGA cable is plugged in before running these commands:
# Set the main display to the desired resolution
xrandr --output eDP1 --mode 1280x1024

# Add the mode resolution to the external projector
xrandr --addmode DP1 1280x1024

# Activate the output for the external projector using a clone of the main display
xrandr --output DP1 --mode 1280x1024 --same-as eDP1
Wait for 5 seconds and it should work!
Using Arandr
(Edit 21/01/2015)
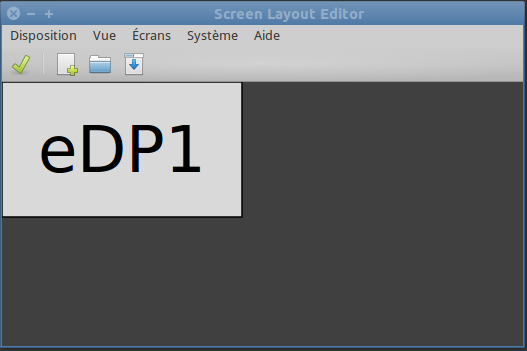
You can also use the GUI tool Arandr to generate xrandr commands.

It generates scripts like this:
$ cat ~/.screenlayout/clone.sh
#!/bin/sh
xrandr --output HDMI1 --off --output VIRTUAL1 --off --output DP1 --mode 1920x1080 --pos 0x0 --rotate normal --output eDP1 --mode 1920x1080 --pos 0x0 --rotate normal --output VGA1 --off
So, each time I need to clone my screen, I can just execute the script … et voilà!